SUMMARY:
- Browse through Canva’s extensive library of calendar templates, including daily, monthly, and yearly options, to kickstart your design journey.
- Personalize your calendar template by adjusting fonts, colors, and layout elements to align with your organization’s branding, fostering a cohesive visual identity.
- Elevate your calendar’s appeal by incorporating custom images, logos, and graphics, enhancing its uniqueness and relevance to your audience.
- Navigate the challenge of finding a printer willing to handle small print runs by seeking out local printers open to diverse job sizes and specifications.
- Collaborate with your chosen printer to select printing parameters such as size, cover type, paper quality, and binding method, ensuring the final product meets your expectations.
Custom calendars make excellent gifts, as well as marketing materials for businesses and other organizations. But how can you create a calendar that fits your needs, and print suitable quantities without spending too much time or money in the process?
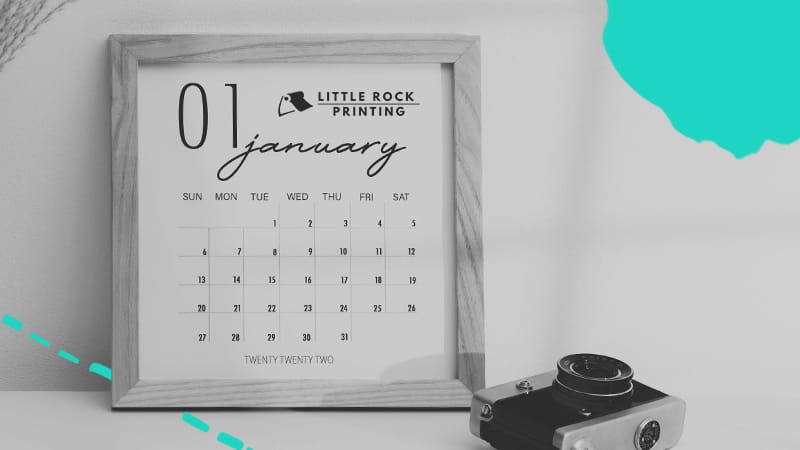
Fortunately, tools like Canva allow you to design custom calendars for free, and printing can be a breeze, too—as long as you know the right local printer. At Little Rock Printing™ we’ve helped countless customers print custom calendars here in Calgary, and now we’re going to teach you some trade secrets that will make the design process easier than you ever thought possible.
6 STEPS TO CREATING YOUR PERFECT CUSTOM CALENDAR IN CANVA
Let’s pretend you’re making a custom calendar with major company milestones as a gift for your employees or team members. Just follow these simple steps to make it happen:
1. MAKE A CANVA ACCOUNT
This part is easy. Getting set up on Canva is as simple as using your Google, Facebook, or Apple account (although you can also make an account the old-fashioned way, without linking any of those platforms).

2. SELECT A CALENDAR TEMPLATE
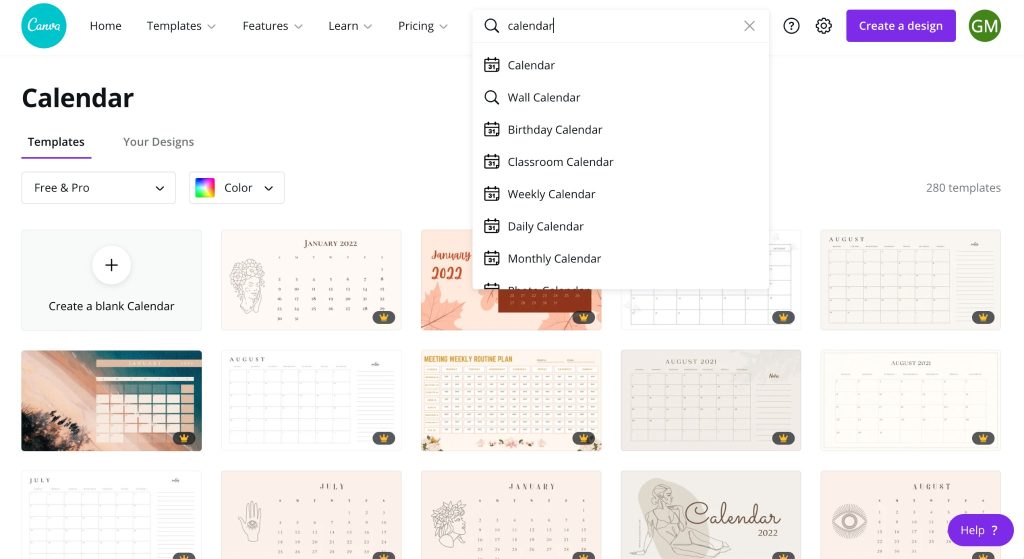
Next, you’ll want to choose a template to help you get started. Canva has a ton of these available—find them by typing “calendar” into the search bar once you’ve logged in, and choosing the type of calendar you need (daily, monthly, yearly, etc.).

3. EDIT YOUR TEMPLATE
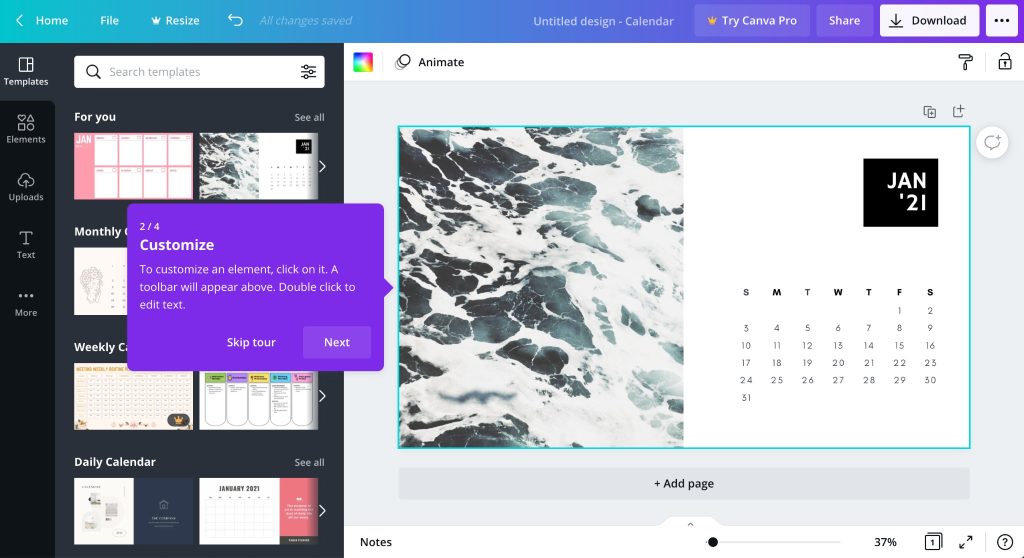
Once you’ve chosen a template for your calendar, the next step is to make it reflect your organization and its style. Start by clicking on various elements of the template (headings, body text, etc.) and tweaking them to reflect your brand.
Every time you click on one of these elements in Canva, a toolbar will pop up near the top of the screen. Use the options it contains to change fonts, colours, and more. Once you’ve chosen these elements of your calendar, filling in the information you want is easy.
4. ADD CUSTOM IMAGES
To fully customize your calendar, you’ll want to do more than simply change the words in it. You’ll also want to add photos, logos, or other unique images.
To remove any images that come with your template, right-click on them and select “Detach Image” from the drop-down menu that appears. Then, drag and drop the images you want to use onto the canvas.
You can also import plenty of other files besides images—Canva accepts .PNGs, .JPGs, .SVGs, .AVIs, .MP4s, .MOVs, .GIFs, .MPEGs, .M4Vs, .MKVs, .WEBM, .HEIC/HEIFs, .MP3s, .M4As, .OGG, and .WAVs. But since you’re planning to print this calendar, it’s probably best to avoid songs, videos, or animations.
Once your custom images have been added to the canvas, simply drag and drop them into the now-empty image slots on the template.
5. FIND A PRINTER
This part is actually a bit more complicated than it sounds, mainly because most printers want to produce volume. It can be tricky to find one who will spend the time to take on the task of producing a small run of custom calendars (or other print materials).
Fortunately, some local printers are willing to take on jobs of any scale. At Little Rock Printing™, for instance, we even produce single unit quantities—which means that if you want a one-off custom calendar as a gift or for some other unique purpose, we can make it happen efficiently and economically.
We are proud to enjoy a 4.8 star rating on Google from more than 160 reviews! Check out our Google reviews here.

6. CHOOSE YOUR PRINTING OPTIONS
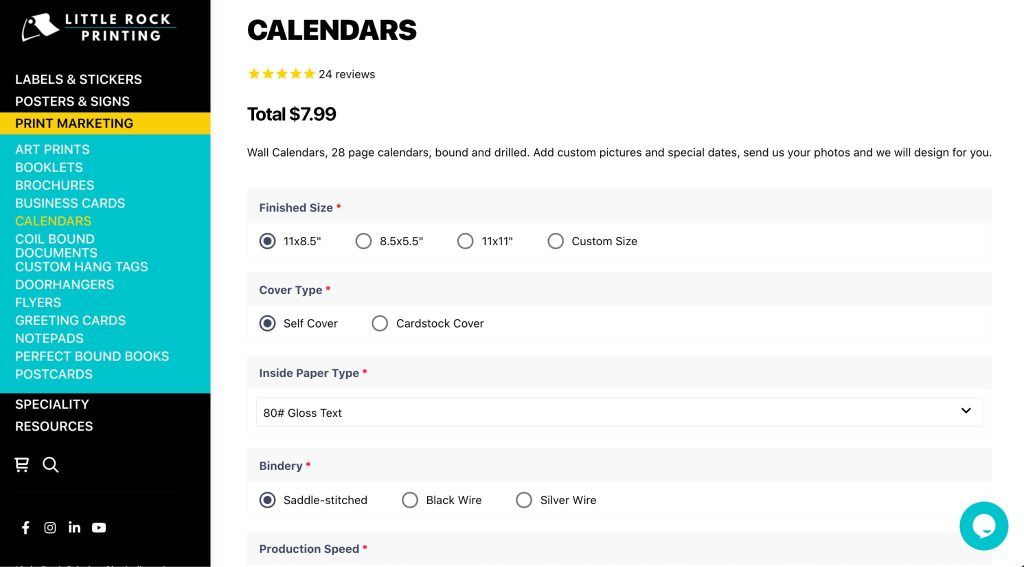
Once you’ve chosen a printer, they’ll probably give you a few options for how you want your calendar(s) printed. For example, we offer clients the following choices:
- Finished size (11×8.5”, 8.5×5.5”, 11×11”, or Custom)
- Cover type (Self Cover or Cardstock Cover)
- Inside paper type (numerous options available)
- Bindery (Saddle Stitched, Black Wire, or Silver Wire)
- Production speed (1 to 5 business days)
- Special instructions
- Quantity
Once you tell your printer exactly what you want them to do with your design, they’ll provide you with a quote for the job and get started. Some printers may also offer to design custom calendars for an additional fee (but follow our tips for making your design with Canva and you can take care of that part absolutely free—just pay for the printing itself!).
MAKING YOUR CUSTOM CALENDAR CAN BE EASY
There’s no reason to pay a designer more than you can afford for a custom calendar, especially when you only need a small run for a specific purpose. Instead, use our tips above to familiarize yourself with Canva and create the exact calendar you want—then trust a local printer to bring your design to life.


